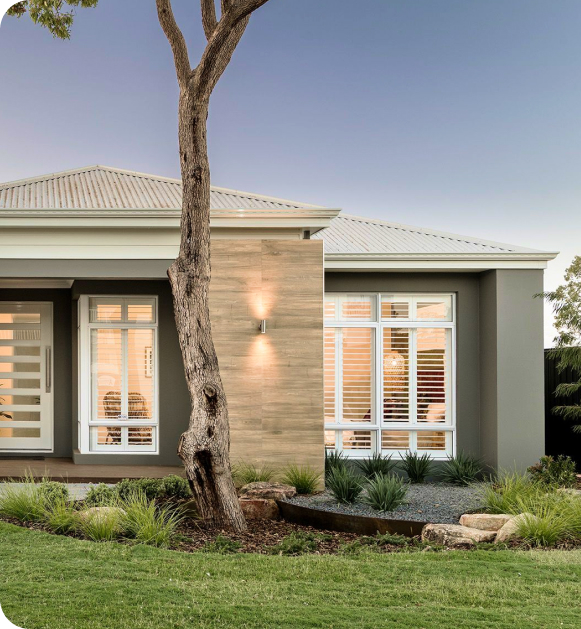
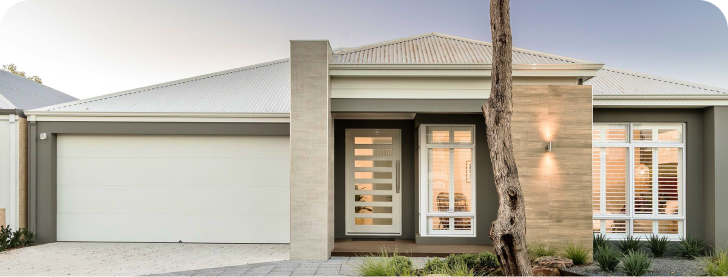
ADU construction has become quite popular in recent years, as it allows property owners to increase the living space of their primary residence without the need to move and buy another house. However, with this popularity came a drastic increase in the number of companies providing such services, and not all of them are worth your trust.
Hence, it might be hard for you to find a decent contractor without any additional help. This is why you need to learn as much information about Accessory Dwelling Units as possible so that an unprofessional general contractor will not have a chance to misguide and rip off extra money from you!
In this article, we will cover the entire ADU construction process. With a solid description of all the stages you will go through together with your contractor and any other revolving crews you might need to hire.
In this article, we will not cover the process of finding the perfect all-in-one builder for the job. We will start directly from the construction part of the project.
However, here is the list of the steps that should precede the construction part of ADUs:
Hence, by now, you should already have a detailed design and construction plan created together with your ADU builder. But to build an Accessory Dwelling Unit in the States, your next step is to receive a building permit from your local authorities.
An experienced contractor will create all design plans and construction drawings following your local regulations so that the entire process of receiving construction permits will go as fast as possible. The time and cost for obtaining a building permit for a brand new ADU can differ from one state to another. Still, it is always an expensive process that you want to be a success on the first try.
Once construction drawings and final plans are permitted, site prep works will occur on your property land. During this stage, your construction team will even out your land, get rid of any obstructions that you might have on the construction site, run all the utility hookups, and so on.
It is important to do an accurate estimate of the site measure and establish the right angle of the land so that the entire ADU construction would create a safe standard ADU near your primary home.
When permits are received, and the land is prepared for all the construction processes, the foundation stage will be started.
During this phase, as you can guess, the foundation of your future house will be created. This can include a great variety of services: aside from pouring the concrete itself, you might also need to do some structural changes, which will include excavation works on your land or placement of retaining walls. The resulting amount of services received during this stage depends on the quality of your land.
When placing the foundation, make sure that your contractor explains to you why you need any additional works to be done on your land. When receiving a final check, you will not be surprised by all the services provided to you.
Once the foundation is placed, the framing of your house will start. Think about framing as the skeleton of your future Accessory Dwelling Unit that will help you to safely place all the walls and a roof of your future additional living space. The cost of framing will depend on the current pricing of the lumber, but it is usually pretty much the same.
During this phase, the utility connections will also be placed for your house. In many cases, there is no need for additional utility connections as you already have them inside your main residence, but it might be that your local and state agencies will demand separate ones for the detached Additional Dwelling Unit or that you yourself would like to place separate connections for the ADU.

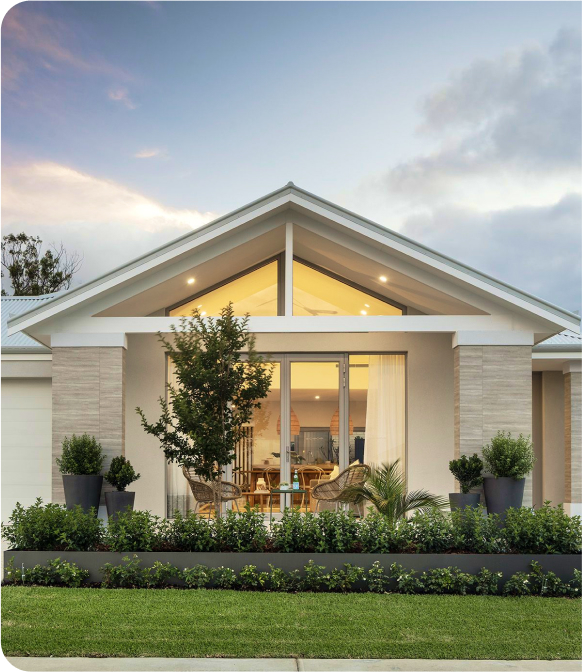
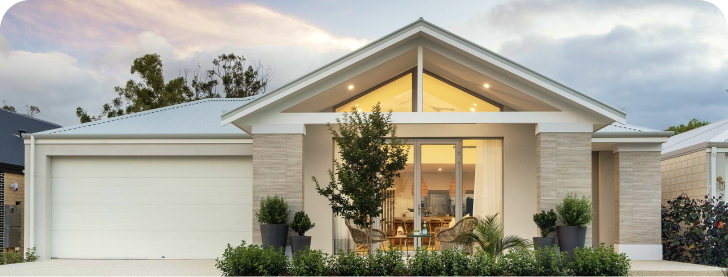
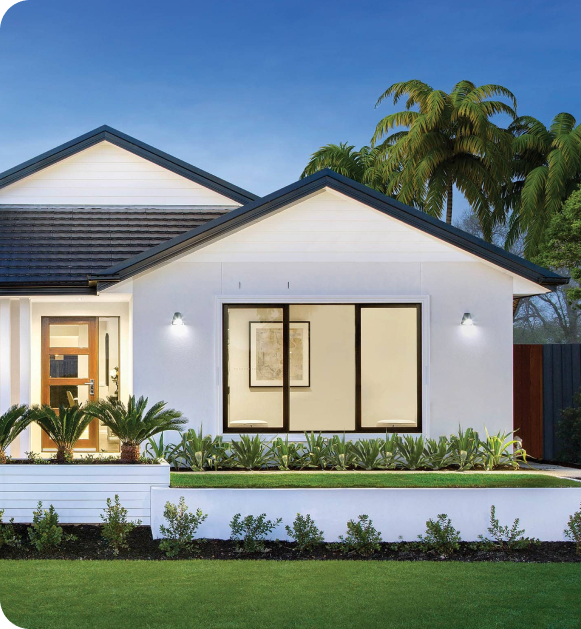
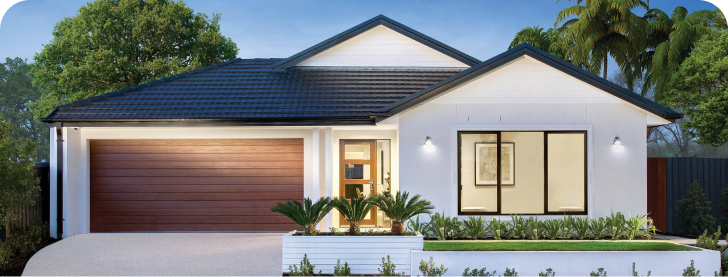
Logically enough, after the framing stage of your Accessory Dwelling Unit comes up to the phase during which the roof, the walls, the windows, and the doors are placed.
This is one of the hardest parts of the entire process of ADU construction: the contractors need to be careful enough to safely transfer all the walls and windows to your property land and thorough enough to evenly place all of them onto the framing that already exists.
The exterior stage of your ADU construction might be eased in case your ADU type is a prefab one. In that case, all the risks and complications described above would be decreased, as the entire ADU construction process will take place in professional factories where little to no layout customizations are allowed.
Once the walls and roof are placed inside your junior Accessory Dwelling Unit or any other ADU, insulation processes will take place so that you will not experience any drafts or leaks during bad weather conditions.
It is important that your contractor pays a great deal of attention to this stage, as it is the main phase that will ensure the physical comfort of your future dwellers. It is almost impossible to deal with such a fundamental flaw of your ADU later, which is why your new single-family dwelling should be well insulated from the very beginning.
When all the utility connections are created, the walls and framing are placed, and the interior fixtures are made, the mechanical phase of your building process can take place.
And during this stage, all the connections that were placed near your new property will be stretched out through the entire ADU. So that there would be access to electricity, water, and conditioners whenever you need them in your new single-family home.
During the trim stage of your ADU project, the overall ADU design part will start, with all the steps related to the beauty of the house and the comfort of its dwellers taking place.
The trim stage is about the molding of all the surfaces inside your house, such as your walls, floors, and ceiling. Here is a list of some of the steps that usually take place during this phase of the new construction project:
The trim phase is all about the details: how one wall connects with your flooring and ceiling, how the doors are connected together with the walls, and so on. And although this might not sound crucial to you at first, you will see a huge difference in the overall ADU design once this stage of the project is finished.
The painting phase, as you can guess, allows the contractors to paint all the walls inside and outside your house.
Of course, the choice of colors and patterns is all yours, and your crew will paint your house in accordance with them. However, it is often the case that the designer's advice is taken upon the right colors for the style that you want to implement.
And, of course, when talking about prefab ADU projects, the paint color is usually universal, as the house will be built in professional factories. Hence, when building a prefab ADU, design customizations are typically not available, but at least there are lower risks of paying additional costs for your project.
Finally, when the sewer lines and all other utilities are connected, the overall structure is placed, the interior trim is done, and the walls are painted, all that is left to do is to assemble all the appliances and fixtures. The contractor will make sure to connect all your utilities, such as sewer lines, plumbing, and electrical wires to the faucets, toilets, and lamps all over your new ADU.
During this stage, the furniture can also be installed by contractors. All the kitchen cabinets, bathroom furniture, sofas, beds, and desks can be placed by your crew in accordance with the design plan that was initially created for this attached ADU/detached ADU project.
However, this part of the ADU building project is not a mandatory one: you can just as easily install all the furniture on your own. It all depends on your desires and the possibility of making additional expenses.
The final project of the contractors will be inspected by your local authorities once again. Only now will they be checking that the resulting ADU is made in accordance with the initial ADU's floor plan and design plan.
If so, the ADU permit will be accompanied by the certificate of occupancy, which will confirm that this independent housing is built in accordance with basic safety rules and can be used for other dwellers to live in. This step is as vital as receiving the initial building ADU permit from your city planners: without it, your new ADU construction will still be perceived as illegal, therefore keeping your property value on the same level.
Once your project is finished, a decent ADU constructor will also make sure to clean the area in which all the construction works took place. This way you can receive a new house that is ready to be used straight away!
It takes approximately eight to twelve months to build a 1200 square feet ADU from scratch, with exact time estimates depending on the contractor that you hired, the designs that you plan to implement, and the materials that will be used. Even bad weather conditions could prolong your ADU construction processes.
The construction part of your project will last somewhere around four months. The timing is increased or decreased depending on the type of ADU that you will build. The size of your future ADU, the amount of time that will be needed to do permit research for your area, and so on. ADU build is definitely one of the longest steps in your project, but do not forget that there are a lot of others as well.
The average pricing of an ADU construction project will be somewhere around 300,000-400,000 dollars. Most homeowners prefer to build detached ADUs, which is why the pricing could be a bit higher in such cases. The final cost of your project will also depend on the complexity of the designs that you want to create. Even the use of sustainable materials can increase the pricing.
The timing of the construction stage in Los Angeles is not that different from the timeline for California in general. Hence, expect your construction phase to last about 4-6 months. The process of receiving a permit or some logistical problems related to the materials that you ordered for the project can also increase the timing of this part of your ADU project.